One of the supreme advantages of Microsoft Teams as a collaboration platform is its flexibility. You can use it across all your devices, you can text, you can video conference: all in the same app. Because it integrates with other Microsoft 365 apps, you can also share files, setup reminders and much more.
The same flexibility applies to how many people Teams supports for video calls. Teams works as well for one person conferencing on their smartphone as it does for an extra-large conference room with 30 people in it.
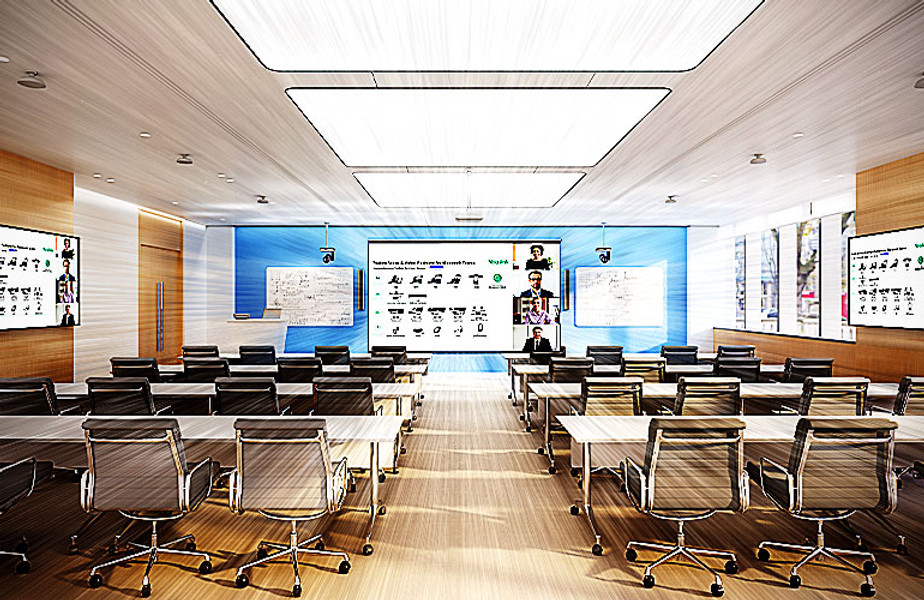
That said, extra-large rooms come with extra complications. One of the biggest complications is the camera. A single camera probably won’t work for an extra-large room, even if it’s a PTZ camera, because there are too many faces. If it captures the whole group, then everyone’s face is too small.
That’s why many companies now employ multi-camera video conferencing in large rooms.

Yealink Multi-Camera Microsoft Teams Kits
Yealink works with Microsoft to provide certified Microsoft Teams video conferencing kits.
For extra-large rooms, they offer the Yealink MVC940. This Teams Rooms kit includes with two UVC84 cameras and a Camera-hub, plus a mini-PC, two wireless presentation pods and a touch controller. (Yealink defines an extra-large conference room as one where 18 or more people are present.)
The kit comes with two cameras, but the system actually supports up to 9 cameras. You could add seven more and have excellent coverage even in an auditorium!
There are many options for camera placement, so we can’t cover them all. Many rooms have one large table in the middle. If that’s the case, here are two common ways to set up the room:
- Cameras in the front of the room. Place two cameras in the front of the room. Have one trained on the participants on one side of the table and one on the other. This is Yealink’s recommended setup for using MVC940 without getting any extra cameras.
- Cameras on the sides of the room. Place cameras on the walls on the sides of the room above head height. Train the cameras on the participants. If you use additional cameras, each camera will need to capture fewer faces, which can make everyone look better.
You might also consider having a camera at the end of the room facing the front. This camera you can enable when someone is giving a presentation at the front of the room. This is a common setup in educational situations for showing the teacher. If someone isn’t presenting, just switch off that camera feed.
How do you do that? By using the features that Camera-hub enables.

Yealink Camera-hub
Camera-hub is a dedicated device that helps you customize the layout for multi-camera setups. There are 3 viewing layouts to choose from:
- Fullscreen Mode. The feed from one camera takes up the whole display.
- Division Mode. The feeds from all the cameras are displayed equally.
- Surround Mode. The feed from one camera is big while the others are smaller around it.
You can select which mode you want to use and what camera feed goes where using the included MTouch II touch controller. The touch panel also lets you adjust the cameras individually to get the best shot, as well as manage meetings, start calls and a lot of other stuff.
You don’t connect cameras directly to Camera-hub. Instead, you connect both the cameras and Camera-hub to your network switch. This simplifies your installation and lets you place Camera-hub out of the way, reducing the number of cables running around the room.

